How to Squat: A Complete Form, Depth, and Programming Guide (Back, Front, and Goblet)
The barbell squat done right — setup, execution, depth science, variations, and programming, all backed by peer-reviewed biomechanics.
SensAI Team
14 min read
Get a training plan that adapts to your recovery — free on iOS
The Squat in One Sentence (and the Cue That Fixes 80% of Reps)
The squat is a triple-flexion movement at the hips, knees, and ankles, loaded externally, that you reverse by pushing the floor away with both feet while keeping your spine braced and your chest proud.
That is the whole lift. Everything else is a refinement of that picture.
If you only remember one cue, make it this one: “spread the floor.” Imagine ripping the ground apart between your feet as you stand up. That single thought corrects three of the most common faults at once — collapsing knees, lazy glutes, and a soft midfoot — because it forces your hips to externally rotate, your glutes to fire, and your weight to drive through your whole foot.
Brad Schoenfeld’s review of squatting kinematics in the Journal of Strength and Conditioning Research — still the most cited overview of the lift — frames it cleanly: the squat is the most effective compound exercise for developing the muscles of the lower body, but its complexity makes technique the single biggest variable separating progress from injury.1
SensAI prescribes the squat heavily in beginner and intermediate programs for exactly that reason. ROI per rep is unmatched, but only if the rep is built right.
Why the Squat Earns Its Reputation
The squat works because it loads the largest muscles in your body through their longest available range, in a movement pattern your nervous system already understands.
There’s a hormonal angle too. Shaner and colleagues compared six sets of ten reps of barbell squats against the same workload on a leg press machine. Testosterone, growth hormone, and cortisol all rose higher after the free-weight squat than after the machine — meaning the squat produced a meaningfully larger acute anabolic signal for the same work.2 The free-weight variant demands more stabilization, more coordination, and more total motor unit recruitment than the seated alternative.
Now the catch. Every advantage of the squat depends on doing it correctly. Bad squat technique doesn’t just leave gains on the table — it accumulates as knee pain, low-back stiffness, and the kind of plateau that no amount of extra volume will fix.
Setup: Stance, Bar Position, Grip, and Brace
Setup decides the lift before the first rep moves. If you walk out of the rack with sloppy positioning, no cue in the world will save the descent.
Work through this checklist every time:
- Stance width. Hip- to shoulder-width is the default for most lifters. A 2009 EMG study by Paoli and colleagues found that stance width alone had limited effect on overall thigh muscle activation when load was constant — but wider stances do increase glute and adductor involvement.3 Test narrow, medium, and wide over a few sessions and pick what lets you hit depth with no knee or hip discomfort.
- Toe angle. Roughly 15-30 degrees of toe-out. Track your knees over your second and third toes through the entire rep.
- Bar position. High-bar sits on the upper traps, just below C7. Low-bar sits on the rear delts, across the spine of the scapula. Glassbrook’s biomechanical review found high-bar produces a more upright torso, more knee flexion, and greater quad demand, while low-bar shifts more load to the hips and posterior chain via a shorter moment arm at the hip.4 High-bar is the default for most lifters and most goals. Low-bar is a powerlifting-specific choice for moving the most absolute weight.
- Grip. As narrow as your shoulder mobility allows on a back squat. The tighter the upper back, the more stable the bar.
- Brace. Take a big diaphragmatic breath into your belly — not your chest — and brace as if bracing for a punch. Hold that pressure through the descent and drive, exhale at lockout.
SensAI’s set-by-set tracking lets you log stance, bar position, and bracing notes per session, so the small tweaks that take a 5RM from ‘grinder’ to ‘crisp’ don’t get lost between training blocks.
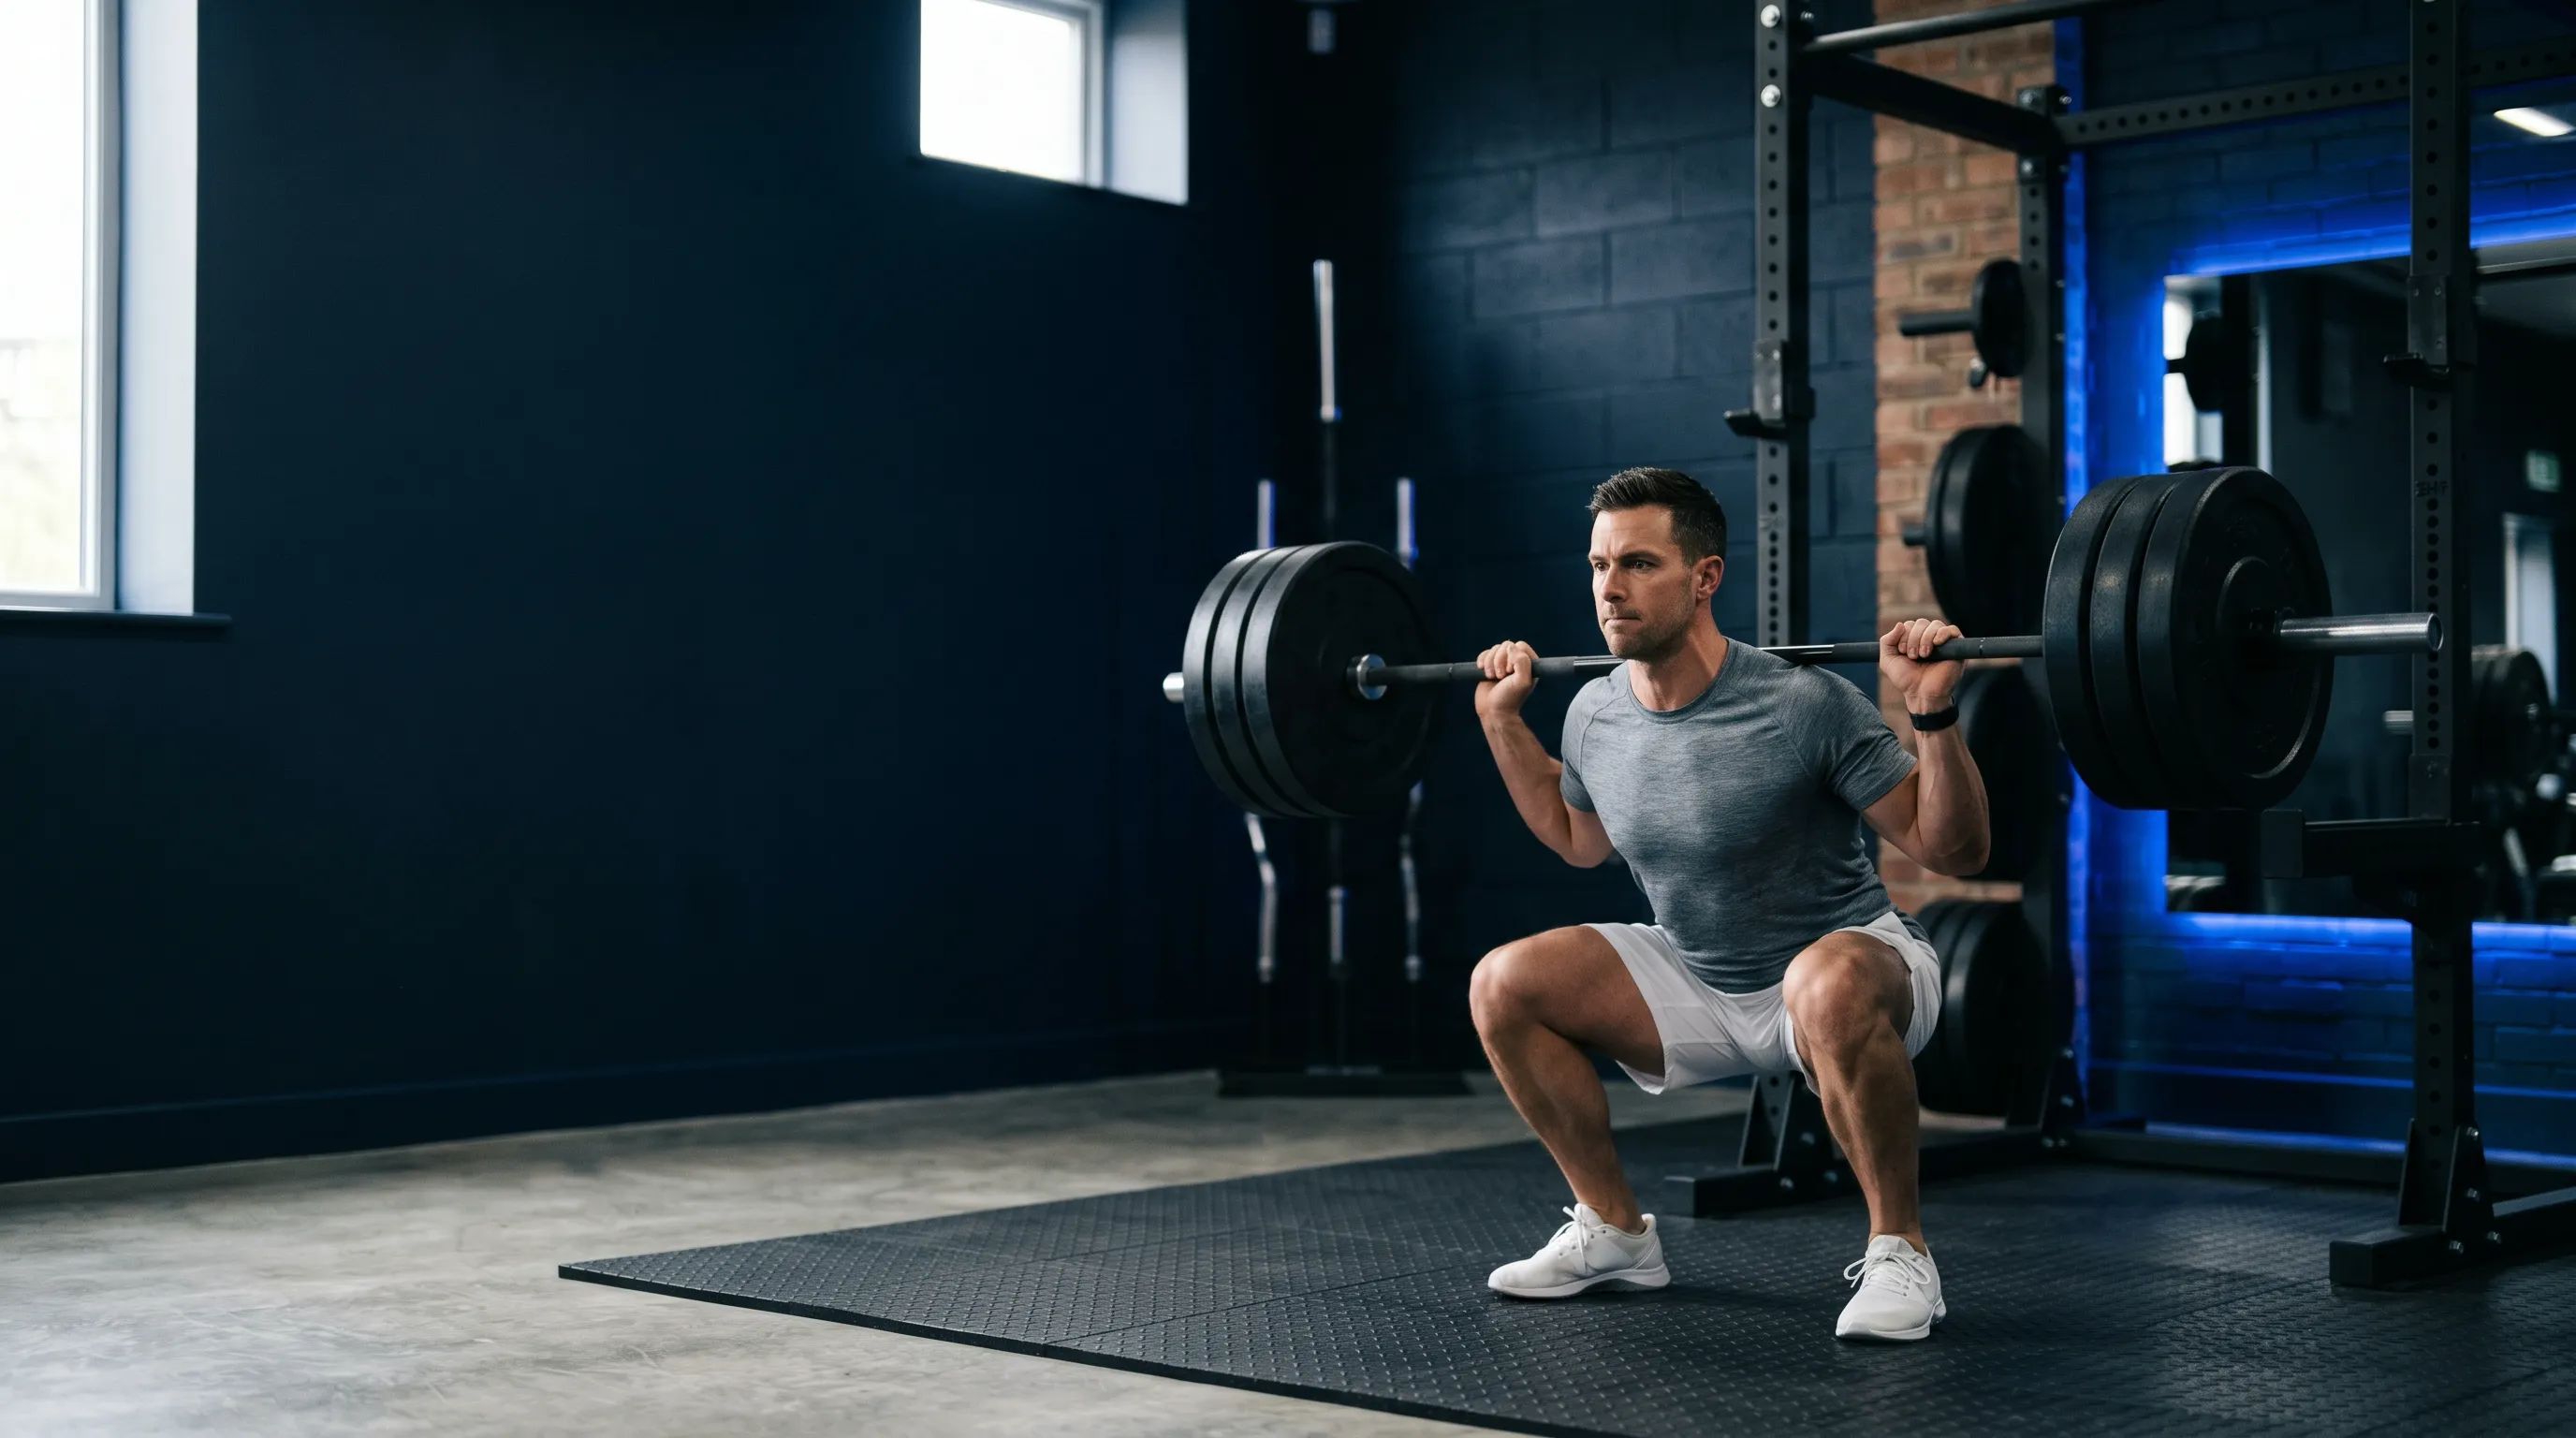
Execution: The Descent, the Bottom, the Drive Out
Now the rep itself. Seven steps, in order.
- Unrack. Two steps back, no more. Set your stance.
- Brace. Big breath, hold pressure.
- Initiate. Sit your hips back and bend your knees simultaneously. Not knees first. Not hips first. Both.
- Descend under control. Roughly 2-3 seconds down. Knees track over toes. Spine stays neutral.
- Hit depth. Hip crease at or below the top of the knee (more on depth in the next section).
- Drive out. Spread the floor. Push the ground away. Chest stays proud — if it dumps forward, the bar will follow.
- Lock out. Stand tall. Reset the brace. Next rep.
Now the “knees over toes” question, because it’s the most asked and most misunderstood cue in coaching.
Knees passing the toes during a squat is biomechanically normal — especially for taller lifters and especially in deeper squats. Fry’s classic 2003 study compared restricted squats (a board placed in front of the shins to block forward knee travel) against unrestricted squats. Restricting the knees reduced knee torque by 22% — but it increased hip torque by 1,070% and produced an excessively forward-leaning torso.5 In other words: stopping your knees from passing your toes shifts the load to your lower back instead of unloading the knee.
The original cue exists because forcing the knees forward by pitching weight onto the ball of the foot is a problem. Letting them travel naturally as your hip and ankle joints flex is not.
Escamilla’s foundational review of squat knee biomechanics also makes the point that the quadriceps, hamstrings, and gastrocnemius co-contract throughout the squat in a way that actively protects the cruciate ligaments and helps stabilize the joint — provided the lifter controls the descent and avoids bouncing out of the bottom.6
How Deep Should You Squat?
Squat to the depth your mobility allows — ideally with the hip crease at or below the top of the knee, often called “to parallel” or “below parallel.” Partial squats are not safer, easier on the joints, or more effective for hypertrophy than full ones.
Kubo and colleagues directly tested this. They trained two groups for 10 weeks, one doing full squats (hip crease below knee) and one doing partial squats (knee at 90°), matched for load progression. The deep group grew the glutes and adductors significantly. The partial group did not.7 Same exercise, same load, totally different result.
Bloomquist’s group ran a similar comparison with heavy back squats. After 12 weeks, the deep-squat group improved 1RM in both deep and shallow squats, gained frontal-thigh muscle cross-section, and improved jump performance. The shallow-squat group improved only their shallow-squat 1RM.8 Strength from full-ROM work generalizes. Strength from partial-ROM work mostly doesn’t.
And the knee concern is overstated. Hartmann’s review of squat depth and joint load concluded that deep squats, performed with proper technique, do not increase the risk of degenerative changes in the lumbar spine or knee joints in healthy lifters — and that the often-cited fears of “deep squats destroying knees” are not supported by the biomechanical or epidemiological data.9
Greg Nuckols, MA, the strength researcher behind Stronger by Science, has summarized the practical version of this in a line worth memorizing: full-ROM strength transfers down (you’ll get stronger at partial squats too), but partial-ROM strength does not transfer up. Pick the version that gives you both.
That said, depth must be earned, not forced. If you can’t reach parallel without your lower back rounding, dropping a butt-wink, or your heels lifting, the answer isn’t to muscle through — it’s to work mobility and use a slightly higher target while you build it. SensAI’s AI coach can prescribe progressive depth work — box squats with descending box heights, paused squats at incrementally lower positions — when your readiness data says today is a good day to push range.
Three Variations: Back, Front, and Goblet
Most lifters benefit from rotating across more than one squat variation. Each loads the same movement pattern from a different angle.
Back squat (high-bar default; low-bar variant). Highest absolute load tolerance. Hits quads, glutes, adductors, and erectors hard. Choose high-bar for most general strength and hypertrophy work; choose low-bar if you specifically compete in powerlifting or move significantly more weight there. Best for: maximal strength development, total lower-body hypertrophy.
Front squat. Bar racked on the front delts, elbows high, torso forced upright by the bar position. Gullett and colleagues directly compared front and back squats at the same relative load and found knee compressive forces and lumbar extensor demand were significantly lower in the front squat for equal external load — making the front squat a strong choice for lifters with low-back issues.10 You’ll move less absolute weight (typically 70-85% of your back squat) but you’ll bias the quads and unload the spine. Best for: quad emphasis, low-back-friendly squatting, transferring to Olympic lifts.
Goblet squat. A single dumbbell or kettlebell held at the chest with both hands. The counterweight forces an upright torso automatically and teaches depth with no equipment intimidation. Best for: beginners learning the pattern, warm-ups, and any session where you want the movement without the loading apparatus.
A reasonable rotation for an intermediate lifter: high-bar back squat as the main lift (2x/week), with front squats or pause squats as the second movement.
Common Squat Mistakes (and the Real Reason They Happen)
Most squat faults are not lazy execution. They’re a mismatch between what the lift demands and what your body is currently capable of delivering. Fix the cause, not the symptom.
| Mistake | Why it happens | Fix |
|---|---|---|
| Butt wink (pelvis tucks at bottom) | Limited hip flexion ROM, sometimes hamstring or hip-capsule restriction | Stop above the wink; work hip mobility (90/90, deep lunge stretch); reassess depth in 4-6 weeks |
| Knee valgus (knees cave in on the drive) | Weak hip abductors and external rotators, or weight forward on toes | Cue “spread the floor” through the drive; add lateral band walks and single-leg work; check stance width |
| Heels rising | Tight ankles (limited dorsiflexion), or torso pitched too far forward | Squat in lifting shoes or a small heel lift; do calf/ankle mobility daily; revisit stance and bar position |
| Forward chest dump | Weak upper back, loose bracing, or a bar position that doesn’t suit your build | Build upper-back strength (rows, chin-ups); re-cue “chest up”; try high-bar if currently low-bar (or vice versa) |
| Half-squatting heavy weight | Ego or fear of depth; sometimes mobility | Strip 30-40% off the bar and squat full-depth for 4 weeks; rebuild |
| Holding breath the entire set | Confusing brace with breath-hold | Inhale at the top, brace into the descent, exhale near lockout, reset; never hold across multiple reps |
SensAI flags movement-quality regressions across sessions via RPE logging — when a lift you used to grade an RPE 7 is now showing up as RPE 9 for the same load, that’s the signal to film a set and audit technique before adding plates.
Programming: Load, Reps, and Frequency by Goal
How you load the squat depends on what you’re training for. Three goals, three load profiles, one frequency rule.
Strength (heavy load, low reps, long rest):
| Variable | Range |
|---|---|
| Load | 80-95% 1RM |
| Sets | 3-5 |
| Reps | 1-5 |
| Rest | 3-5 min |
| Frequency | 2-3x/week |
Hypertrophy (moderate load, moderate reps, moderate rest):
| Variable | Range |
|---|---|
| Load | 65-80% 1RM |
| Sets | 3-5 |
| Reps | 6-12 |
| Rest | 1.5-3 min |
| Frequency | 2x/week |
Muscular endurance (lighter load, higher reps, short rest):
| Variable | Range |
|---|---|
| Load | 50-65% 1RM |
| Sets | 2-4 |
| Reps | 15-25 |
| Rest | 30-90 sec |
| Frequency | 2-3x/week |
The load-versus-hypertrophy question is the most contested of these. Schoenfeld’s 2017 meta-analysis pooled 21 studies comparing low-load (≤60% 1RM) and high-load (>60% 1RM) training. The result: hypertrophy was similar between load ranges when sets were taken close to failure — but strength gains were significantly greater with heavier loads.11 Translation: for raw size you have flexibility on load; for absolute strength, you need to spend time in the heavy end.
Frequency matters less than total weekly volume. Schoenfeld, Ogborn, and Krieger’s frequency meta-analysis found that training a muscle group twice a week produced significantly more growth than once a week — but three-plus times a week did not clearly beat twice, once volume was equated.12 For most lifters, two squat sessions per week is the sweet spot. Save the extra day for a different lift or for recovery.
For volume targets per muscle group, see our training volume guide.
Beginner linear progression is the simplest place to start. 3 sets of 5 reps at the same load. Add 2.5-5 kg (5-10 lb) per session. Keep going until you miss a session at that load, then drop the load 10% and ramp back up. Most beginners can stay on linear progression for 8-16 weeks before needing more sophisticated programming.
Now the brand integration that matters here. Heavy squats train the central nervous system as much as the muscles. A squat session that your body would have handled fine on a rested day can become an exercise in grinding bad reps when you’ve had three nights of poor sleep, are mid-cycle on a stressful work project, or are catching a virus you don’t know about yet. The classic failure mode is a lifter who hits a heavy squat day on a depleted nervous system, grinds out reps with degraded technique, accumulates joint stress, and shows up the next session worse than the previous one. SensAI integrates HRV, sleep, and readiness data from Apple Watch, Oura, Garmin, and WHOOP to flag these days — and to reduce load or shift to a deload before the bad session happens, not after.
When to Worry: Knee Pain, Back Pain, Red Flags
Most discomfort during squatting is technique- or load-related, not structural damage. But there are signals you should respect.
Discomfort that fades after the warm-up and doesn’t worsen across sets is usually just tissue stiffness. Pain that gets worse with each set, or that lingers for days after, is your body telling you the load is exceeding what the tissue is currently prepared for.
Knee pain during squats is most often patellofemoral irritation — usually traceable to too-fast progression, insufficient single-leg strength, or a stance/depth combination that’s compressing the joint at end ROM. Lower-back pain is most often a bracing or hip-flexion mobility issue, not a disc problem. Pull back the load by 20-30%, audit technique on video, and address mobility before you keep loading through it. If you need a structured starting point, our knee pain exercises guide walks through the typical progression.
What is not normal: sharp, sudden pain mid-rep. Numbness or tingling down the leg. Pain that wakes you up at night. Loss of strength on one side. Any of these — stop training the lift and see a physician or physical therapist. The squat will still be there next month.
What’s Next: Recovery, Readiness, and Staying in the Game
You don’t get stronger from training. You get stronger from recovering from training.
Plews and colleagues’ work on HRV-guided training in elite endurance athletes showed that adapting training load to daily HRV — pulling back when HRV was suppressed, pushing when it rebounded — produced better adaptation than fixed weekly load increases.13 The principle generalizes to strength training: the day you’re “supposed” to squat heavy isn’t always the day your nervous system can actually express it.
This is the part that ties the whole post together. You’ve learned how to set up the squat, how to execute it, how deep to go, which variation to choose, how to fix the common mistakes, and how to program it by goal. The last piece is reading the signal your body sends back. SensAI’s HRV-driven autoregulation handles that read so you don’t have to — pulling load on depleted days, adding volume when you’re rebounding, and protecting the long arc of progress from the short arc of yesterday’s sleep. The lifters who stay in the game for years aren’t the ones who push hardest on every session. They’re the ones who push correctly on the right sessions. For the fuller mental model on managing fatigue across a training block, read our piece on adaptive AI workout apps and the fatigue rationale.
If you’re building a complete lower-body base, pair this with our deadlift guide. If you’re more focused on overall muscle, our how to build muscle post covers the broader programming logic that the squat fits into.
Squat heavy. Squat deep. Squat often enough — but only as often as you can actually recover from. That’s the whole game.
References
Footnotes
-
Schoenfeld BJ. “Squatting kinematics and kinetics and their application to exercise performance.” Journal of Strength and Conditioning Research, 2010. https://pubmed.ncbi.nlm.nih.gov/20182386/ ↩
-
Shaner AA, et al. “The acute hormonal response to free weight and machine weight resistance exercise.” Journal of Strength and Conditioning Research, 2014. https://pubmed.ncbi.nlm.nih.gov/24276305/ ↩
-
Paoli A, Marcolin G, Petrone N. “The effect of stance width on the electromyographical activity of eight superficial thigh muscles during back squat with different bar loads.” Journal of Strength and Conditioning Research, 2009. https://pubmed.ncbi.nlm.nih.gov/19130646/ ↩
-
Glassbrook DJ, Helms ER, Brown SR, Storey AG. “A Review of the Biomechanical Differences Between the High-Bar and Low-Bar Back-Squat.” Journal of Strength and Conditioning Research, 2017. https://pubmed.ncbi.nlm.nih.gov/28570490/ ↩
-
Fry AC, Smith JC, Schilling BK. “Effect of knee position on hip and knee torques during the barbell squat.” Journal of Strength and Conditioning Research, 2003. https://pubmed.ncbi.nlm.nih.gov/14636100/ ↩
-
Escamilla RF. “Knee biomechanics of the dynamic squat exercise.” Medicine and Science in Sports and Exercise, 2001. https://pubmed.ncbi.nlm.nih.gov/11194098/ ↩
-
Kubo K, Ikebukuro T, Yata H. “Effects of squat training with different depths on lower limb muscle volumes.” European Journal of Applied Physiology, 2019. https://pubmed.ncbi.nlm.nih.gov/31230110/ ↩
-
Bloomquist K, Langberg H, Karlsen S, et al. “Effect of range of motion in heavy load squatting on muscle and tendon adaptations.” European Journal of Applied Physiology, 2013. https://pubmed.ncbi.nlm.nih.gov/23604798/ ↩
-
Hartmann H, Wirth K, Klusemann M. “Analysis of the load on the knee joint and vertebral column with changes in squatting depth and weight load.” Sports Medicine, 2013. https://pubmed.ncbi.nlm.nih.gov/23821469/ ↩
-
Gullett JC, Tillman MD, Gutierrez GM, Chow JW. “A biomechanical comparison of back and front squats in healthy trained individuals.” Journal of Strength and Conditioning Research, 2009. https://pubmed.ncbi.nlm.nih.gov/19002072/ ↩
-
Schoenfeld BJ, Grgic J, Ogborn D, Krieger JW. “Strength and Hypertrophy Adaptations Between Low- vs. High-Load Resistance Training: A Systematic Review and Meta-analysis.” Journal of Strength and Conditioning Research, 2017. https://pubmed.ncbi.nlm.nih.gov/28834797/ ↩
-
Schoenfeld BJ, Ogborn D, Krieger JW. “Effects of Resistance Training Frequency on Measures of Muscle Hypertrophy: A Systematic Review and Meta-Analysis.” Sports Medicine, 2016. https://pubmed.ncbi.nlm.nih.gov/27102172/ ↩
-
Plews DJ, Laursen PB, Stanley J, Kilding AE, Buchheit M. “Training adaptation and heart rate variability in elite endurance athletes: opening the door to effective monitoring.” Sports Medicine, 2013. https://pubmed.ncbi.nlm.nih.gov/23852425/ ↩