How to Deadlift: Form, Programming, and the Recovery Cost Most Guides Skip
An evidence-based guide to the deadlift — the four phases of the pull, conventional vs sumo selection by anatomy, beginner-to-intermediate programming, and an HRV-aware readiness framework for when to pull heavy.
SensAI Team
16 min read
Get a training plan that adapts to your recovery — free on iOS
Most deadlift guides stop at “keep a neutral spine and lift with your legs.” That is not a coaching cue. That is a slogan.
The deadlift is a four-phase movement with three non-negotiable cues, a stance decision driven by your skeleton (not your ideology), and a recovery cost that quietly wrecks the rest of your training week if you ignore it. The guides that skip the recovery side are the reason so many lifters plateau, hate Mondays, and never figure out why their Wednesday squat feels like sand.
This post gives you the whole picture: how to pull, which stance fits your anatomy, how to program it from beginner through intermediate, and — most importantly — how to know on any given morning whether today is actually a day to go heavy.
How to Deadlift: The Four Phases and Three Non-Negotiable Cues
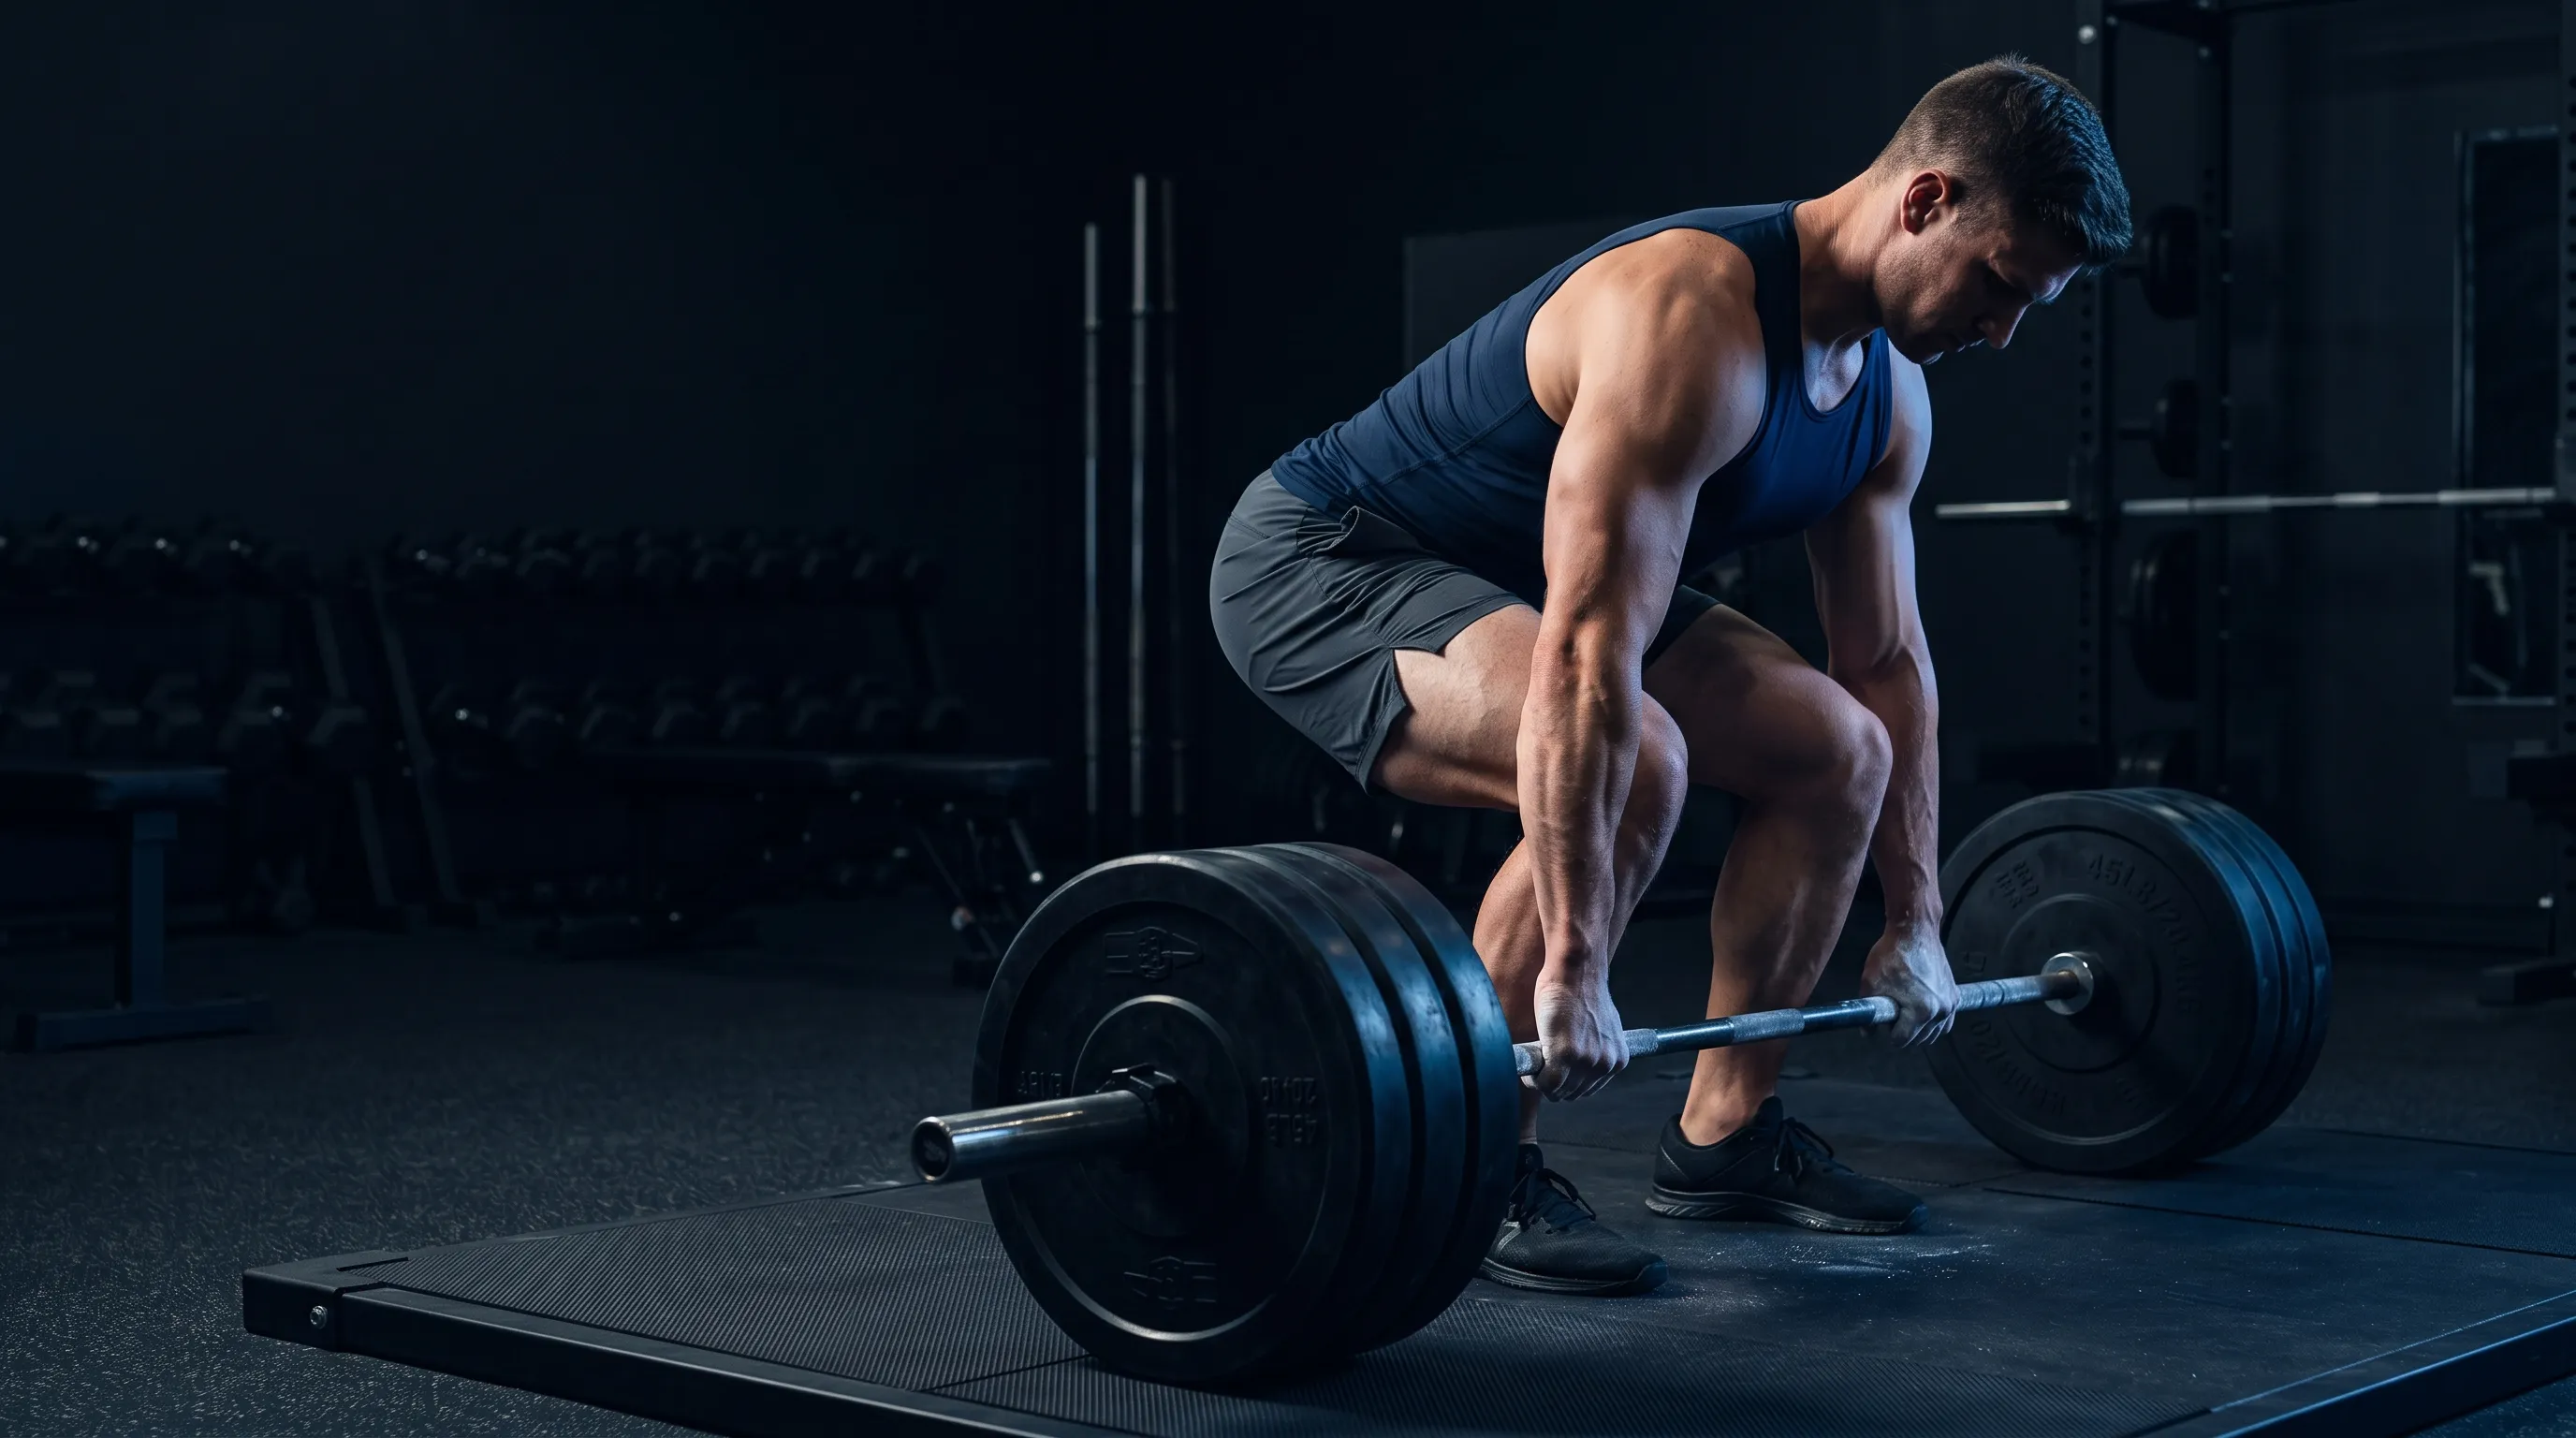
The deadlift is a hip-dominant pull from the floor to lockout, executed in four distinct phases. Get the phases right and the cues take care of themselves. Get the cues wrong and you will spend a decade pulling with your lower back.
Phase 1 — Setup. Bar over mid-foot. Shins about an inch from the bar. Hips higher than knees, shoulders slightly in front of the bar, lats packed under your armpits like you are crushing oranges. This is not a squat position. It is a hinge.
Phase 2 — Pull from the floor. Push the floor away with both feet. The bar stays on your legs. Hips and shoulders rise together at the same rate. If your hips shoot up first, your back angle is taking the load — that is a stiff-leg good morning, not a deadlift.
Phase 3 — Knee pass. The bar passes the knees. Now hips drive forward aggressively. This is the moment the deadlift transitions from a leg drive to a hip extension.
Phase 4 — Lockout. Glutes squeeze. Ribs stack over pelvis. Stand tall. Do not hyperextend at the top — there is no judge giving you bonus points for leaning backward, and lumbar hyperextension under load is how you injure a disc.
Now the three cues that make all four phases work:
“Wedge into the bar.” Before the bar leaves the ground, take slack out of it by pulling up gently while pushing the floor down. You should feel the bar bend slightly. This pre-tension means the lift starts the moment you commit, not after a jerk.
“Push the floor away.” Beginners think about pulling the bar. That is the wrong mental model. Push the floor down with your feet and the bar will come up on its own. This single cue fixes more deadlift technique than any other.
“Bar stays on the body.” The bar should drag up your shins, kiss your kneecaps, and travel up your thighs. Any space between the bar and your body is a mechanical disadvantage with a leverage cost.
And two things to stop doing immediately:
- Stop jerking the bar off the floor. Build tension first, then push. A jerked deadlift has no leg drive — it is all back.
- Stop hyperextending at lockout. Stand tall, glutes squeezed, neutral spine. The lift is over when you are upright.
Get those four phases and three cues right and you have the framework. Now the stance question.
Conventional vs Sumo: Pick the Stance Your Anatomy Wants
The conventional and sumo deadlifts move the same weight from the floor to lockout, but they distribute the work across your body differently — and your skeleton has a strong opinion about which one suits you.
In a conventional deadlift, your feet are roughly hip-width and your hands grip outside your legs. In a sumo, your feet are wide (often near the plates) and your hands grip inside your legs. That single change shifts the mechanics meaningfully. Belcher’s technical review of the sumo pull in Strength & Conditioning Journal lays out the rationale: a wider stance shortens the bar’s vertical travel and brings the hips closer to the bar, reducing the load on the lower back at the cost of greater hip mobility demand.1
Escamilla’s three-dimensional biomechanical analysis of sumo and conventional lifters found that sumo athletes maintained their thighs 11-16 degrees more horizontal at liftoff and at the knee pass, and their trunks 5-10 degrees more vertical, than conventional lifters.2 That more upright torso is the headline advantage of sumo — less spinal shear, less moment arm on the lower back.
A 2002 EMG follow-up by the same lab showed that overall vastus medialis, vastus lateralis, and tibialis anterior activation was significantly greater in sumo, while conventional produced greater medial gastrocnemius activity.3 Translation: sumo is more quad and adductor; conventional is more posterior chain and calf.
So which one should you pull?
Cholewa et al. tested 47 deadlift-naïve subjects (28 male, 19 female) across both styles and found an inverse relationship between sitting-height-to-total-height ratio and the sumo-to-conventional strength ratio (r = 0.297, p = 0.043).4 Plain English: lifters with longer torsos relative to their total height had an easier time with sumo. Shorter-torso, longer-armed lifters did better conventionally.
The decision rules that actually hold up:
- Short torso, long arms → conventional. Your back angle stays less compromised, and your arms reduce the range you have to pull.
- Long torso, short arms → sumo. You will be fighting your levers in conventional. Sumo brings your hips closer to the bar and the more upright torso protects your lower back.
- Hip socket orientation matters more than ideology. If your hips don’t comfortably open into the wide sumo stance, conventional is your default — regardless of what your favorite powerlifter pulls.
Greg Nuckols, an all-time world-record holder in his weight class and the founder of Stronger By Science, has written that the conventional-vs-sumo debate is mostly anthropometric — most lifters can find within 5-10% of their best pull in either stance once they have trained both for a few months. The “best” stance is the one your skeleton lets you pull with the most repeatable, pain-free form.
Beginners should learn conventional first. The hip hinge pattern transfers to every other deadlift variant — Romanian, stiff-leg, sumo, trap bar — and the conventional pull builds the posterior chain that everything else relies on. If your anatomy clearly favors sumo, you will figure that out within the first three months.
A quick comparison:
| Dimension | Conventional | Sumo |
|---|---|---|
| Bar path | Longer (~20-25% greater ROM) | Shorter |
| Back angle at liftoff | More horizontal | 5-10° more vertical2 |
| Quad demand | Moderate | Higher3 |
| Posterior chain demand | Higher | Moderate |
| Best for | Short torso, long arms | Long torso, short arms, mobile hips |
Pick a stance. Train it. Don’t second-guess it every week.
Programming the Deadlift for Beginners and Intermediates
The deadlift gets programmed once per week for almost everyone — and the reason is not aesthetic preference, it is recovery math.
The deadlift recruits the largest combined muscle mass of any lift in the gym: glutes, hamstrings, erectors, quads, traps, lats, forearms. The systemic cost per session is higher than the squat or the bench. The NSCA’s position stand on progression in resistance training recommends 1-2 sessions per week of any given multi-joint lift for novice and intermediate lifters, with intensity in the 70-85% 1RM range producing the bulk of strength adaptation.5
That gives us a clean structure.
Beginner protocol (weeks 1-12):
- 1 heavy deadlift session per week. Add 2.5-5 kg per session as long as form holds.
- Working sets: 3 sets of 5, or 1 top set of 5 with two back-off sets at 90% of the top set load.
- Optional second day: A “technique” pull at 60% 1RM, 4-5 sets of 3, focused on bar speed and position. No grinders. This is for groove, not stimulus.
Linear progression at this stage is the most efficient strength curve a beginner will ever ride. Don’t overthink it. Add weight every week until the bar slows down, then stop adding and start working.
Intermediate protocol (when linear progression stalls):
- Heavy day: Top set of 3-5 reps at 80-85% 1RM, followed by back-off sets.
- Speed day (separated by 72 hours): 5-8 sets of 2-3 reps at 65-75% 1RM, every rep explosive.
- Add load when RPE drops below 8 on the top set. Helms et al. showed very strong relationships (r = -0.90 to -0.92) between bar velocity and %1RM in the deadlift, with RPE tracking velocity closely.6 If your top set feels like an RPE 7, you have weight to add.
This is where most template apps fail. They prescribe a fixed Monday-deadlift, Friday-deadlift schedule and assume your recovery state is constant. It isn’t. We will get to that in the next section, but the punchline is that fixed schedules treat the calendar as the variable when your nervous system is the variable. SensAI’s coach reads your prior session load, your HRV trend, and your sleep before suggesting today’s pull volume — the result is that the heavy day actually lands on a day your body can absorb it. For more on the underlying science, see our breakdown of training volume for hypertrophy and the general framework for how to build muscle.
Warmup protocol (every deadlift session):
The deadlift punishes a bad warmup. Use this:
- 5 minutes general — easy bike or rower, just to raise core temperature.
- 2 x 5 reps with the empty bar — pattern, brace, breathe.
- 5 reps @ 40% 1RM — bar speed primer.
- 3 reps @ 60%.
- 2 reps @ 75%.
- 1 rep @ 85%.
- Working sets.
Jordan Feigenbaum, MD, of Barbell Medicine has consistently argued that a deliberate, progressive warmup is the cheapest insurance against a tweaked back. The warmup is not optional volume; it is data acquisition. Every warmup single tells you something about how today’s heavy single is going to feel.
The Recovery Cost Nobody Tells You About
Why does Monday’s heavy pull wreck Wednesday’s squat?
Because the deadlift is not just a leg exercise. It is a full-body neurological event that recruits more motor units, generates more sympathetic nervous system response, and produces more measurable autonomic disruption than almost any other lift. The recovery curve is steeper and longer than most lifters appreciate.
Stanley, Peake, and Buchheit’s review of post-exercise parasympathetic reactivation found that complete cardiac autonomic recovery takes up to 24 hours after low-intensity work, 24-48 hours after threshold-intensity work, and at least 48 hours after high-intensity work.7 The authors acknowledged that resistance-training-specific data was limited at the time, but the timeline tracks.
Flatt et al. filled in part of that gap with a 2019 study on HRV, neuromuscular, and perceptual recovery following resistance training. The result was nuanced: HRV (lnRMSSD) returned to baseline by 24 hours, but neuromuscular performance required 48 hours, and perceptual soreness was still suppressed at 48 hours.8 In other words, your wearable might tell you you’re recovered while your nervous system’s ability to produce force is still down. That is the deadlift problem in a single study.
There is a useful objective proxy: bar speed at a fixed load. Sánchez-Medina and González-Badillo demonstrated that velocity loss in resistance training is one of the strongest indicators of neuromuscular fatigue, with correlations to fatigue markers ranging from r = 0.91 to r = 0.97.9 Practically, a 10-15% drop in your warmup bar speed at a reference load (say, 60% 1RM) is the clearest sign your nervous system is not ready for heavy work — even if you feel fine subjectively.
This is why “deadlift once a week” stops being arbitrary the moment you have actually trained intermediate-level loads. A heavy pull on Monday has measurable downstream cost on Wednesday’s squat session. SensAI tracks the post-deadlift HRV drop automatically and surfaces it before your next planned heavy session — so the question of “is my system recovered yet” gets answered with data, not vibes.
The deadlift is the lift where recovery management decides whether the next four weeks are productive or wasted.
A Readiness Framework for Pulling Heavy
The three-input morning check is the simplest framework I know for deciding whether today is a heavy-deadlift day.
Before you walk into the gym, look at three things:
1. Morning HRV vs your 7-day baseline. Plews et al. demonstrated that a rolling 7-day average is a more reliable signal of training adaptation than any single morning reading, because day-to-day HRV noise can swing wildly with sleep, hydration, and caffeine.10 Compare today to the trend, not to yesterday.
2. Sleep duration and subjective sleep quality. Less than 6 hours is a hard yellow flag for heavy pulling. Less than 5 hours is a red flag.
3. Warmup bar speed at a reference load. This is the most underused signal in lifting. Pull a single at 60% 1RM as part of your warmup. If it moves noticeably slower than usual — say, 10%+ slower by feel or by a velocity tracker — your nervous system is not where it needs to be.
The decision matrix:
- All three green → pull as planned. Hit the top set.
- One yellow → keep the volume, drop the top set 5-10%. You’ll still get a stimulus without paying the full recovery cost.
- Two yellow, or any red → swap the heavy pull for technique work at 60% 1RM (5 sets of 3, explosive, no grinders) or move the heavy session to tomorrow.
Why this matters more for the deadlift than for any other lift: the recovery cost is asymmetric. A bad heavy squat costs you a few days. A bad heavy deadlift can cost you the whole week of training — because every other session sits on the same posterior chain you just blew out. Skipping a heavy pull when readiness is low is not weakness. It is load management.
Vesterinen et al. tested this directly. They randomized 40 recreational runners to either HRV-guided training or a fixed schedule for 8 weeks. The HRV group ran 2.1% faster on a 3,000 m time trial versus 1.1% (not statistically significant) for the fixed-schedule group — and they did it with fewer high-intensity sessions (13.2 vs 17.7).11 More performance, less work. The mechanism is simple: hard sessions landed on days the body could absorb them.
This is the same logic SensAI applies to your strength training. It reads morning HRV, sleep, and prior-session strain from your wearable, then makes the readiness call before you load the bar. For deeper context on the principle, see our breakdowns of low HRV / normal resting heart rate decisions and the data-driven deload framework.
A note on wearables: Düking et al. compared the Apple Watch, Polar, Garmin, and Fitbit for heart rate accuracy in 2020 and found meaningful differences between devices.12 The wrist optical sensor on a good wearable is accurate enough for HRV trends. It is not accurate enough to chase a single morning reading. Trends. Always trends.
Common Form Failures and How to Fix Them
Three failures account for the majority of bad deadlifts. Each one has a specific cue and a specific drill.
Failure 1: Hips shoot up first. Off the floor, your hips rise faster than your shoulders, leaving you in a stiff-leg good morning position with the bar still on the floor. This is a leg-drive problem.
Cue: “Push the floor away with both feet.”
Drill: Paused deadlifts. Pull the bar 1 inch off the floor, hold for 2 seconds, then complete the lift. Use 70-75% of your normal working weight. Three sets of 3-5. This trains you to maintain back angle through the initial pull.
Failure 2: Lower back rounds. As soon as the bar leaves the floor (or before), your lumbar spine flexes. This is the failure mode that puts people in lower-back-pain territory — and it is almost always a bracing problem, not a weakness problem.
Cue: Brace before you pull. Inhale into your belly (not your chest), expand 360 degrees around your spine, and lock that pressure before you take slack out of the bar.
Drill: Drop the load 15-20% until your brace holds through every rep. Add a Valsalva maneuver (held breath against a closed glottis) during the rep. Retest weekly with progressively heavier weight. If lower-back pain is already a factor, run our lower-back-pain protocol for 4-6 weeks before retesting any heavy pull.
Aaron Horschig, DPT, of Squat University has written extensively about the bracing failure as the root cause of most “deadlift back” injuries — not the lift itself, but the absence of intra-abdominal pressure when the load gets heavy.
Failure 3: Bar drifts forward. The bar leaves your shins, swings out in front of your body, and you finish the lift with your lower back doing emergency work to bring it back.
Cue: “Drag the bar up your shins.”
Drill: Wear knee-high socks. Use chalk on your shins. Add deficit deadlifts (standing on a 1-inch plate) at 60-70% — the deficit exaggerates the bar-path error and trains you to keep the bar tight to the body. Three sets of 5, once per week, until the pattern is automatic.
Feigenbaum’s framing on Barbell Medicine is useful here: form is a skill, not a virtue. You don’t get points for “good form” — you get adaptation from the work you can actually recover from. Fix the failures so the work is recoverable. Then add weight.
What This Looks Like in Practice
A beginner training week, all-in:
- Monday: Squat, 3 x 5 at working weight. Bench, 3 x 5. Optional pull-ups.
- Wednesday: Bench, 3 x 5. Overhead press accessory work. Light row work.
- Friday: Deadlift, 3 x 5 (or 1 x 5 top set + 2 back-off sets at 90%). One accessory: 3 x 8-10 Romanian deadlifts or barbell rows.
- Optional Saturday: Technique pull at 60% 1RM, 4 x 3 explosive. Skip if Friday was tough.
An intermediate training week:
- Monday: Squat heavy (top set of 3-5 at 80-85%). Bench speed (8 x 3 at 65%).
- Wednesday: Deadlift speed (5 x 3 at 70%, explosive). Pull-ups. Hamstring accessory.
- Friday: Bench heavy (top set 3-5). Squat speed (6 x 3 at 65%).
- Saturday: Deadlift heavy (top set 3-5 at 80-85%). One back-off set at 90% of top set. Accessory: rows.
And a readiness-adjusted Wednesday speed-deadlift day, in real time:
- Morning HRV is 12 ms below your 7-day baseline.
- You slept 5.5 hours.
- Warmup single at 60% 1RM feels slow — maybe 15% slower than last week.
That is two yellow flags and one red. Don’t pull heavy. Cut the session to 4 x 3 at 60% 1RM, explosive, and move on with your day. You will recover by Saturday. If you ground out the planned 5 x 3 at 70%, you would probably miss Saturday’s heavy pull entirely.
This is what readiness-adjusted programming looks like in practice. It is not glamorous. It is not Instagram. But it is the difference between linear progress for years and four weeks of grinding followed by a tweaked back.
SensAI’s conversational coach makes exactly this kind of call mid-week — reading your wearable, your last three sessions, and your stated goals, then telling you whether today is a heavy day or a recovery day before you even put your shoes on. The deadlift is the lift that benefits most from that kind of decision, because the cost of getting it wrong is the highest.
Form, programming, and recovery awareness compound. Each one alone is worth maybe a year of pain-free progress. Together, they are worth 20 years of pulling heavy without breaking yourself.
That is what the rest of your training career can look like — if you treat the deadlift as a system, not just a lift.
References
Footnotes
-
Belcher D. “The Sumo Deadlift.” Strength & Conditioning Journal, 2017; 39(4): 97-104. https://journals.lww.com/nsca-scj/fulltext/2017/08000/the_sumo_deadlift.13.aspx ↩
-
Escamilla RF, Francisco AC, Fleisig GS, Barrentine SW, Welch CM, Kayes AV, Speer KP, Andrews JR. “A three-dimensional biomechanical analysis of sumo and conventional style deadlifts.” Medicine & Science in Sports & Exercise, 2000; 32(7): 1265-1275. https://pubmed.ncbi.nlm.nih.gov/10912892/ ↩ ↩2
-
Escamilla RF, Francisco AC, Kayes AV, Speer KP, Moorman CT 3rd. “An electromyographic analysis of sumo and conventional style deadlifts.” Medicine & Science in Sports & Exercise, 2002; 34(4): 682-688. https://pubmed.ncbi.nlm.nih.gov/11932579/ ↩ ↩2
-
Cholewa JM, Atalag O, Zinchenko A, Johnson K, Henselmans M. “Anthropometrical Determinants of Deadlift Variant Performance.” Journal of Sports Science and Medicine, 2019; 18(3): 448-453. https://pubmed.ncbi.nlm.nih.gov/31427866/ ↩
-
American College of Sports Medicine. “Progression Models in Resistance Training for Healthy Adults.” Medicine & Science in Sports & Exercise, 2009; 41(3): 687-708. https://pubmed.ncbi.nlm.nih.gov/19204579/ ↩
-
Helms ER, Storey A, Cross MR, Brown SR, Lenetsky S, Ramsay H, Dillen C, Zourdos MC. “RPE and Velocity Relationships for the Back Squat, Bench Press, and Deadlift in Powerlifters.” Journal of Strength and Conditioning Research, 2017; 31(2): 292-297. https://pubmed.ncbi.nlm.nih.gov/27243918/ ↩
-
Stanley J, Peake JM, Buchheit M. “Cardiac parasympathetic reactivation following exercise: implications for training prescription.” Sports Medicine, 2013; 43(12): 1259-1277. https://pubmed.ncbi.nlm.nih.gov/23912805/ ↩
-
Flatt AA, Globensky L, Bass E, Sapp BL, Riemann BL. “Heart Rate Variability, Neuromuscular and Perceptual Recovery Following Resistance Training.” Sports (Basel), 2019; 7(10): 225. https://pubmed.ncbi.nlm.nih.gov/31635206/ ↩
-
Sánchez-Medina L, González-Badillo JJ. “Velocity Loss as an Indicator of Neuromuscular Fatigue during Resistance Training.” Medicine & Science in Sports & Exercise, 2011; 43(9): 1725-1734. https://pubmed.ncbi.nlm.nih.gov/21311352/ ↩
-
Plews DJ, Laursen PB, Stanley J, Kilding AE, Buchheit M. “Training Adaptation and Heart Rate Variability in Elite Endurance Athletes: Opening the Door to Effective Monitoring.” Sports Medicine, 2013; 43(9): 773-781. https://pubmed.ncbi.nlm.nih.gov/23852425/ ↩
-
Vesterinen V, Nummela A, Heikura I, Laine T, Hynynen E, Botella J, Häkkinen K. “Individual Endurance Training Prescription with Heart Rate Variability.” Medicine & Science in Sports & Exercise, 2016; 48(7): 1347-1354. https://pubmed.ncbi.nlm.nih.gov/26909534/ ↩
-
Düking P, Giessing L, Frenkel MO, Koehler K, Holmberg HC, Sperlich B. “Wrist-Worn Wearables for Monitoring Heart Rate and Energy Expenditure While Sitting or Performing Light-to-Vigorous Physical Activity: Validation Study.” JMIR mHealth and uHealth, 2020; 8(5): e16716. https://pubmed.ncbi.nlm.nih.gov/32374274/ ↩